Easy Off on Lower Reciever Then Grey Rustoleum
Determining your Concrete
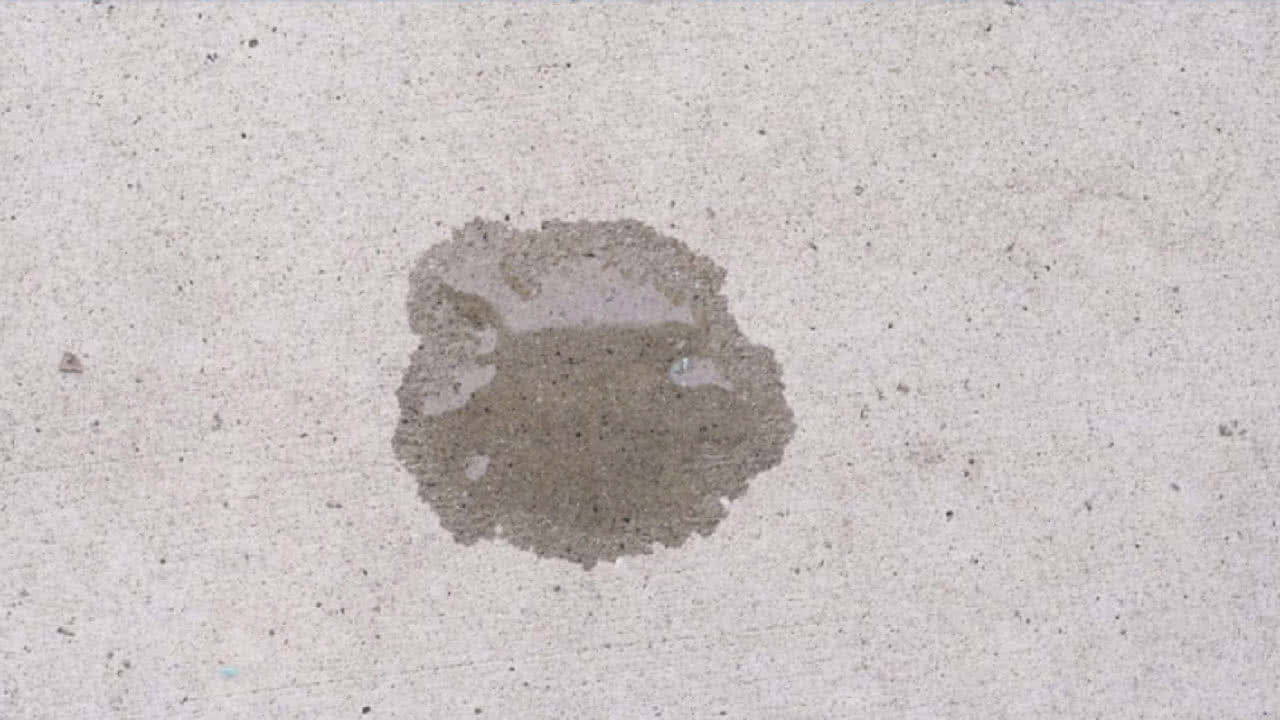
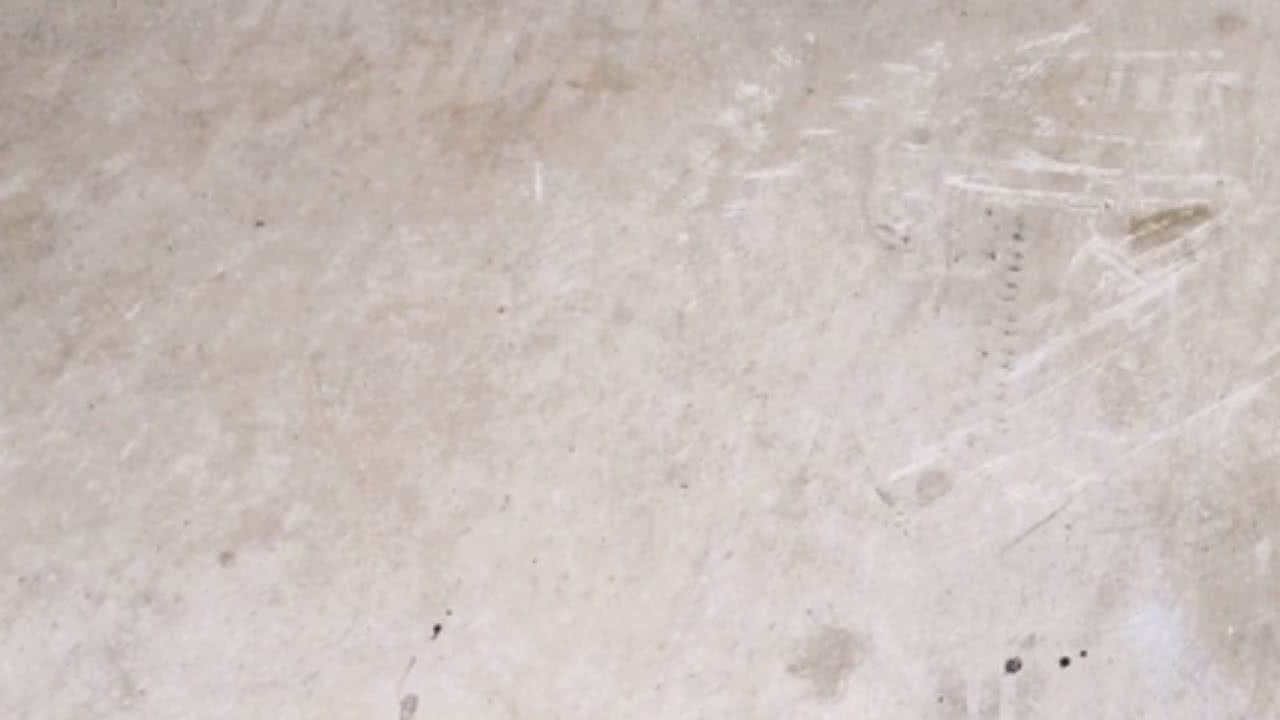
Before you start you need to determine if your garage floor is porous or has a sealer applied.
Pour a small amount of water onto the concrete, if it soaks in you're good to start, if it pools, you may have an existing coating or sealer which needs to removed prior to apply Rust-Oleum Garage floor coating.
(*Image shown is unsealed concrete as noticeable by the concrete soaking into the concrete around the outside)
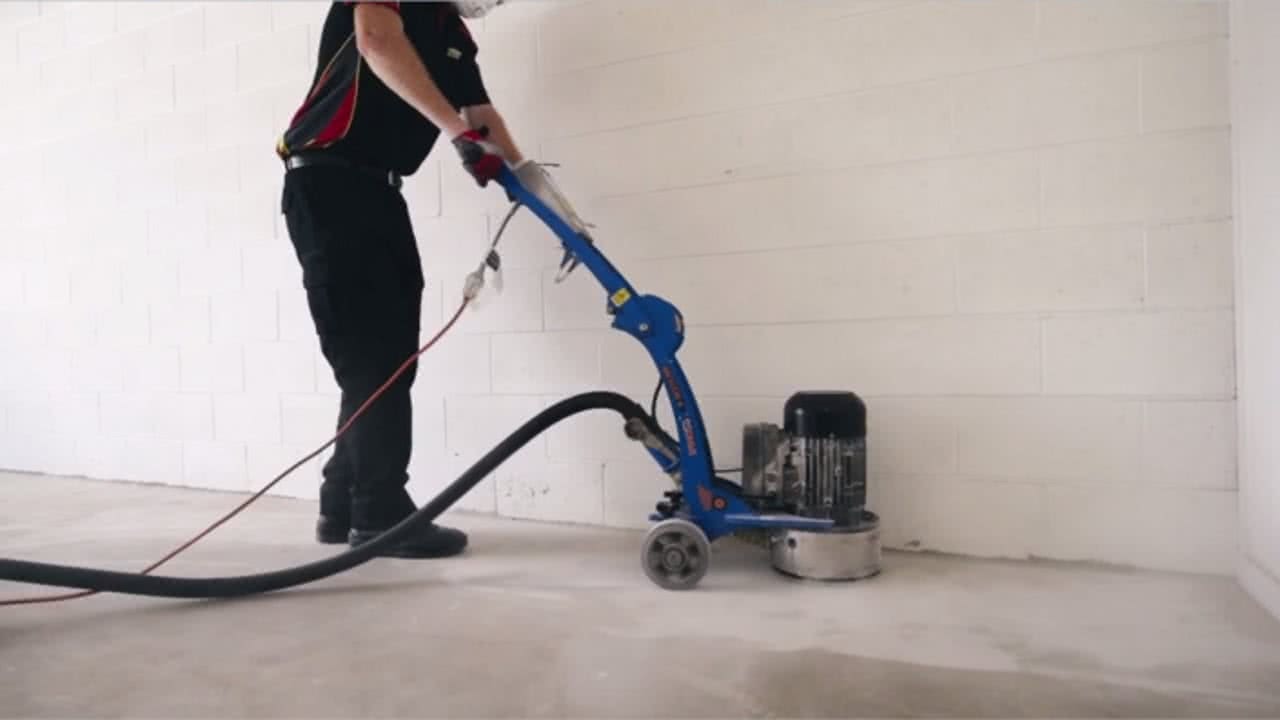
To remove previous concrete coatings you may you may need to grind back the coating with the use of a mechanical grinder.
These are available from many equipment hire businesses.
Cleaning the Concrete
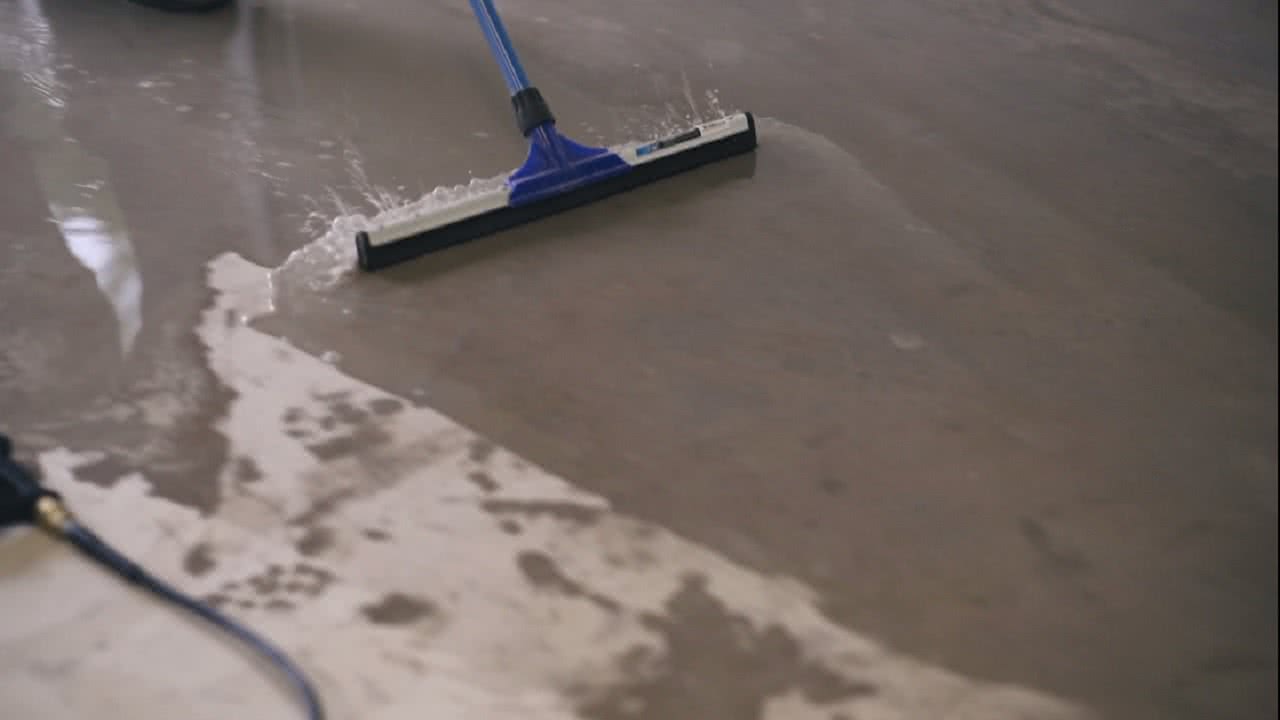
The first step is to clean the concrete. This should be done a number of times and with the use of cleaning agents and a pressure washer if possible.
Here are the cleaning steps required:
- Pressure wash away any large contaminants from the surface.
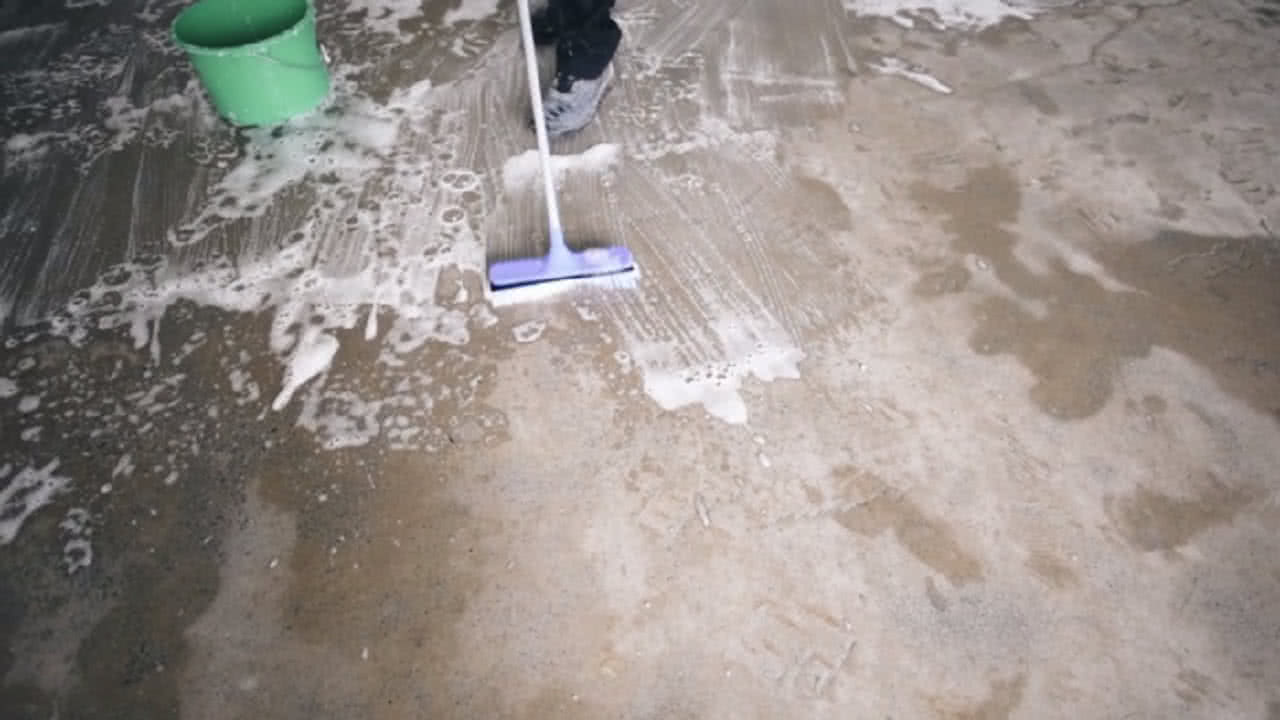
- Degrease surface and scrub with stiff bristled broom. Ensure you concentrate on any oil stains, then pressure wash away any degreaser.
- Next use heavy duty cleaner and again use a stiff bristled broom to scrub the surface. Once this is complete, use the pressure washer to wash away any leftover cleaner.

Etching the Surface
After you have finished cleaning the surface, the next step is to etch the surface. The Rust-Oleum Garage Floor Paint Kits include etch powder which is simply mixed with water.
Once this is done, it's as simple as scrubbing it into the surface.
Etching will prepare the concrete for maximum adhesion of the floor coating.
Drying the Surface
The next step after having washed and etched the surface is to allow the concrete to dry completely. This can take several days depending on where your garage is located and the weather conditions at the time.
It's recommended that you conduct a moisture test before proceeding any further. This can be done by taping plastic sheeting to the surface and allowing it to sit for 24hrs.
After this time, inspect the plastic for condensation which may be trapped under underneath. If there is no signs of moisture, you're good to move on to the next step!
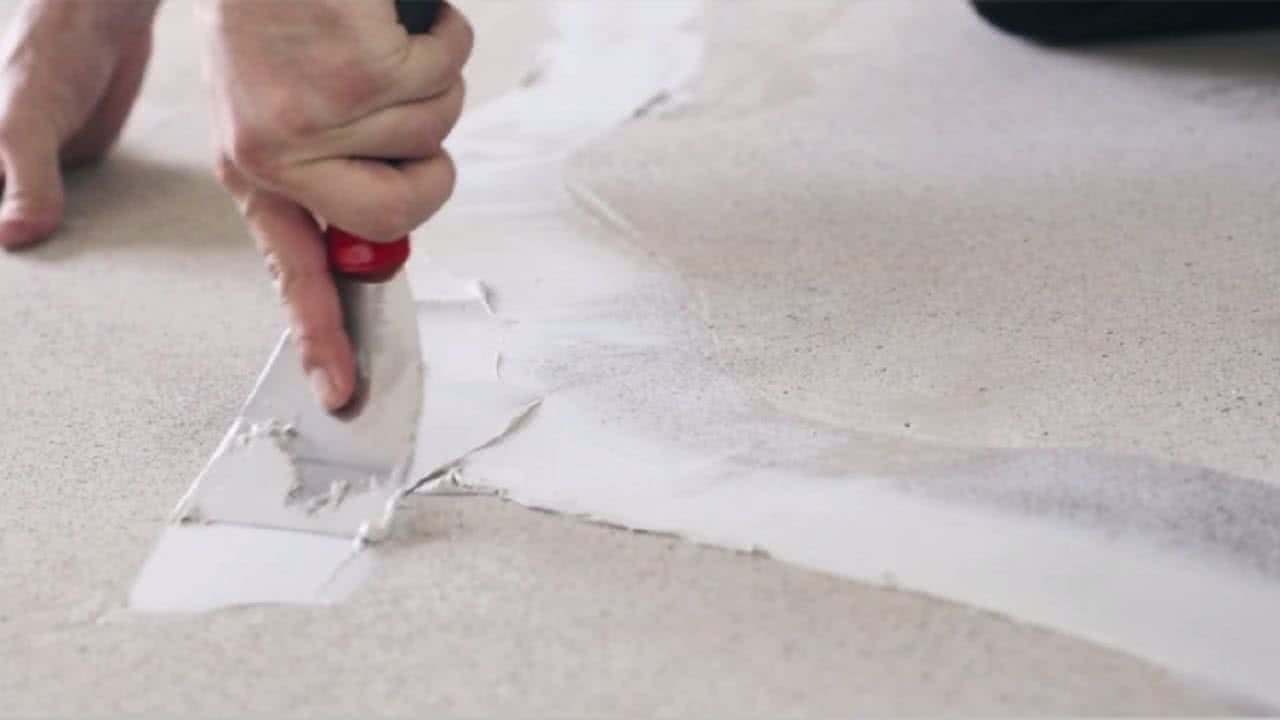
Repairing Cracks
Next, before moving on to the primer stage, it's time to take care of any cracks your concrete may have.
Rust-Oleum fast patch is sold separately can be used to fill imperfections up to 8 millimetres deep.
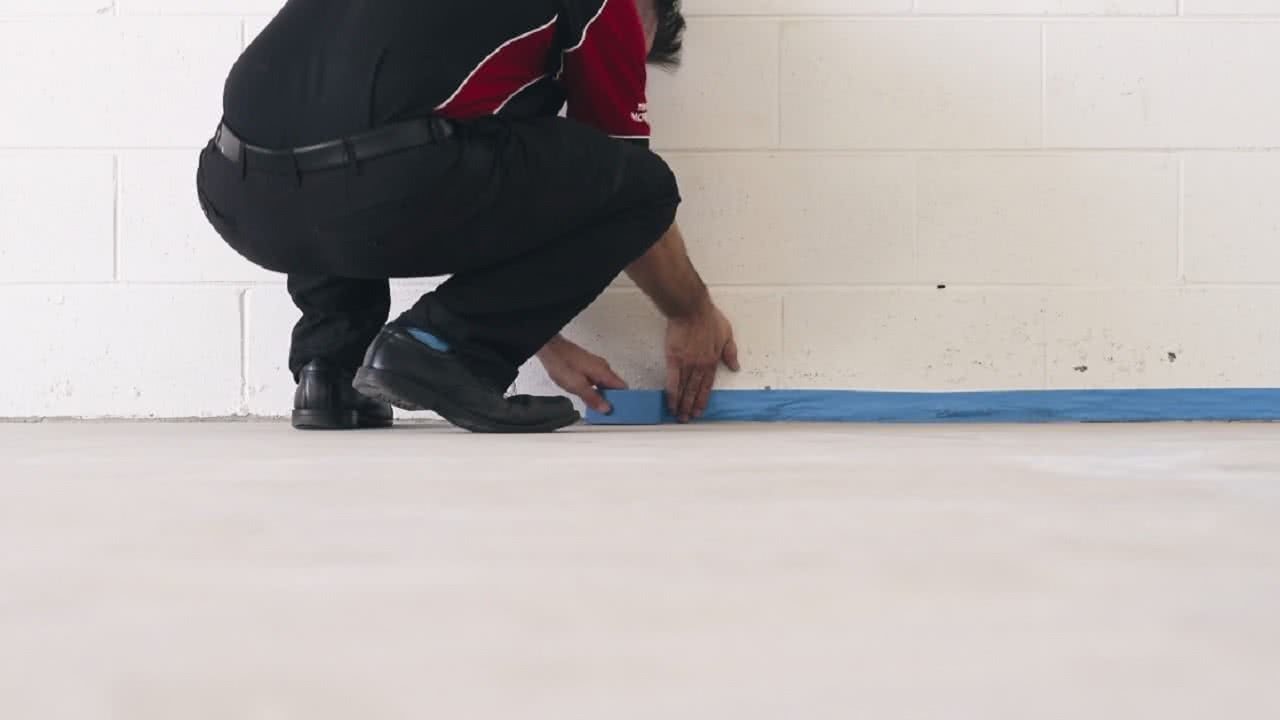
Masking the Edges
The final step in the preparation is to carefully mask off the skirting boards, walls, and anything else you don't want painted.
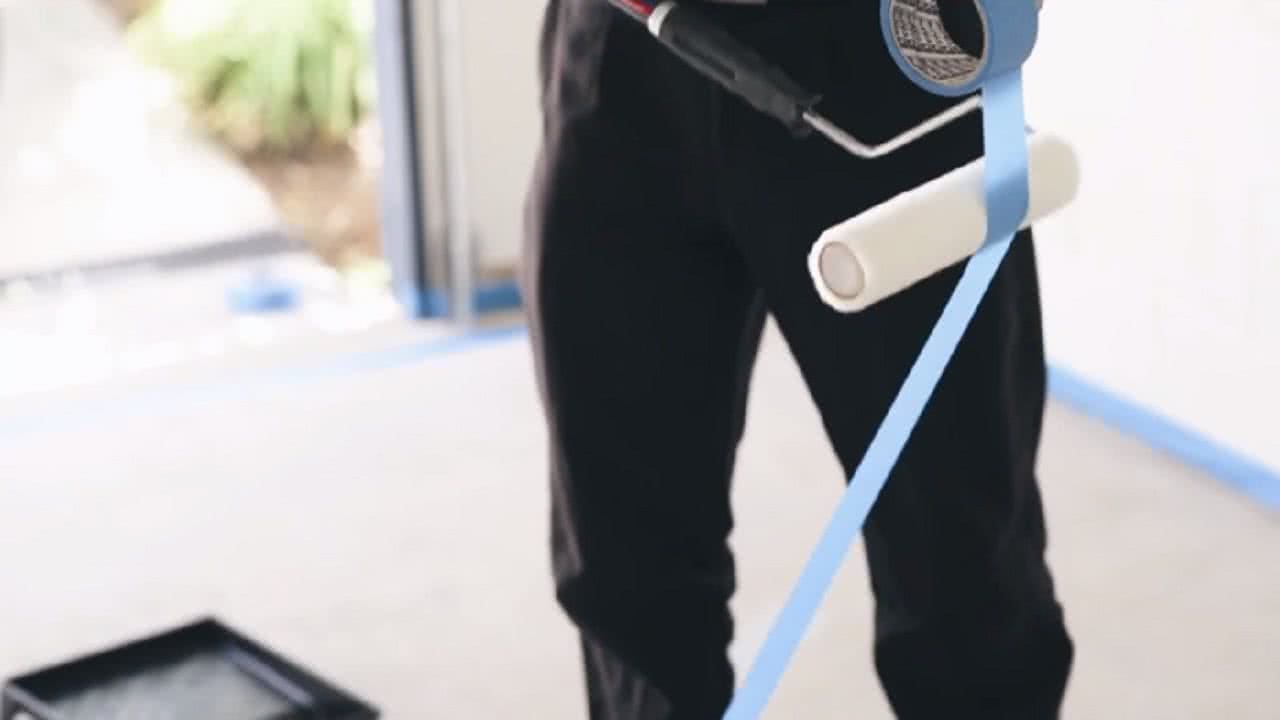
Preparing the Rollers
De-lint each roller with masking tape to ensure there is no lint mixed in with your paint.
This is as easy as running the roller along the sticky side of the masking tape.
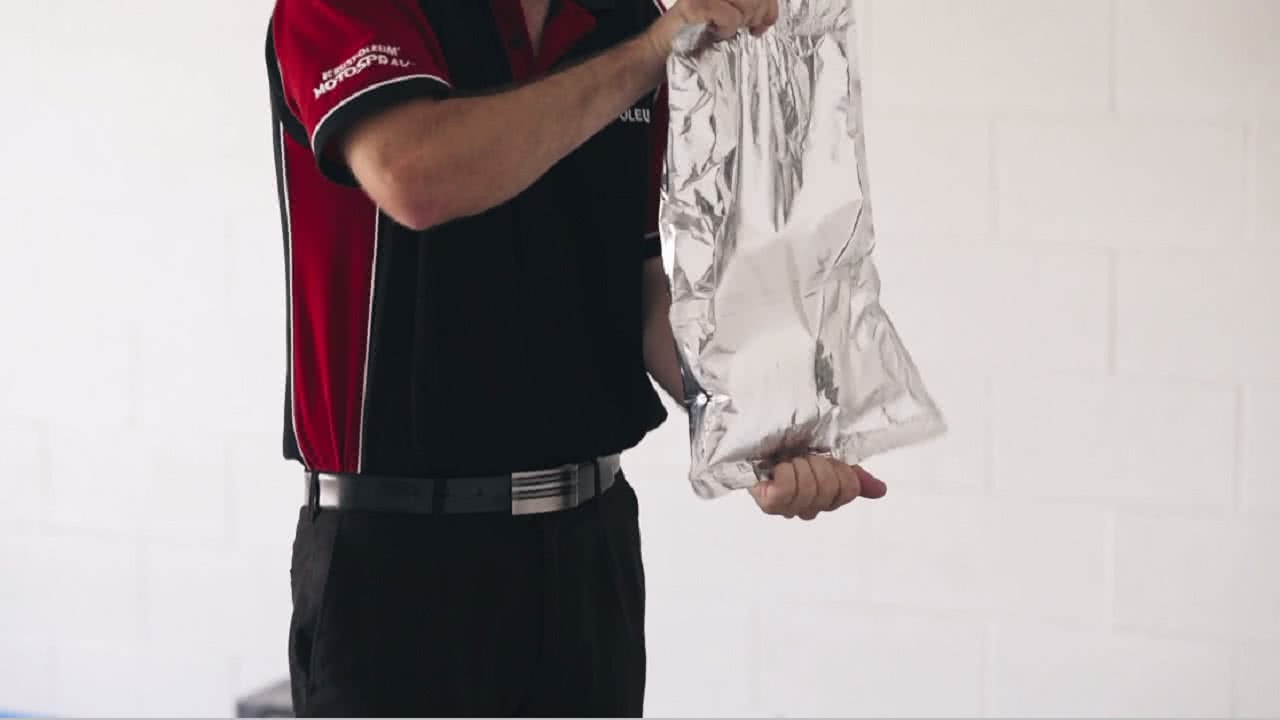
Mixing the Pouch
Now you're ready to apply the primer!
Rust-Oleum Garage Floor Paint us a mess free mixing technique for all of their floor paints, simply:
- Massage each chamber thoroughly.
- Lay it on the floor or another flat surface.
- Combine the two chambers together by rolling one side towards the other. The seam dividing the chambers is designed to burst under this pressure.
- Once the two chambers have been mixed, continue shaking the contents for another 3-5mins.
NOTE: This method applies to paint as well as primer pouches

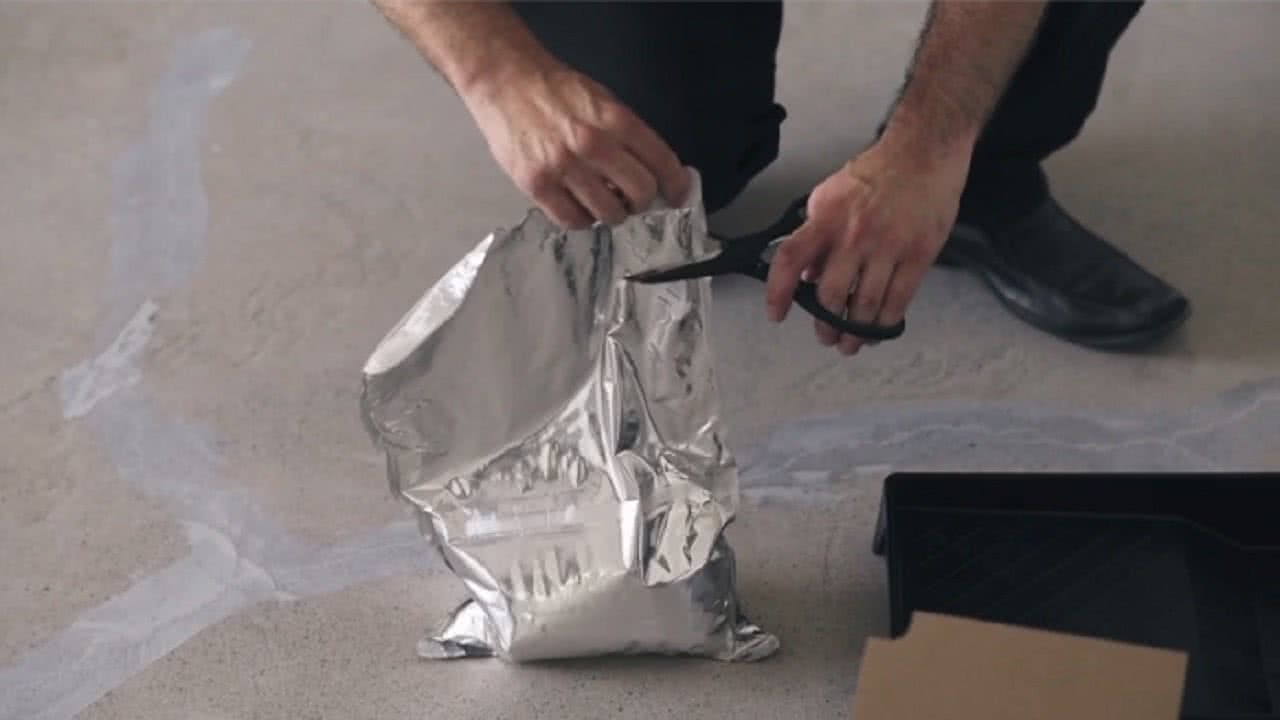
Opening the Pouch
Once you have thoroughly mixed the primer, simply cut one corner of the bag large enough to ensure a large enough opening is made.
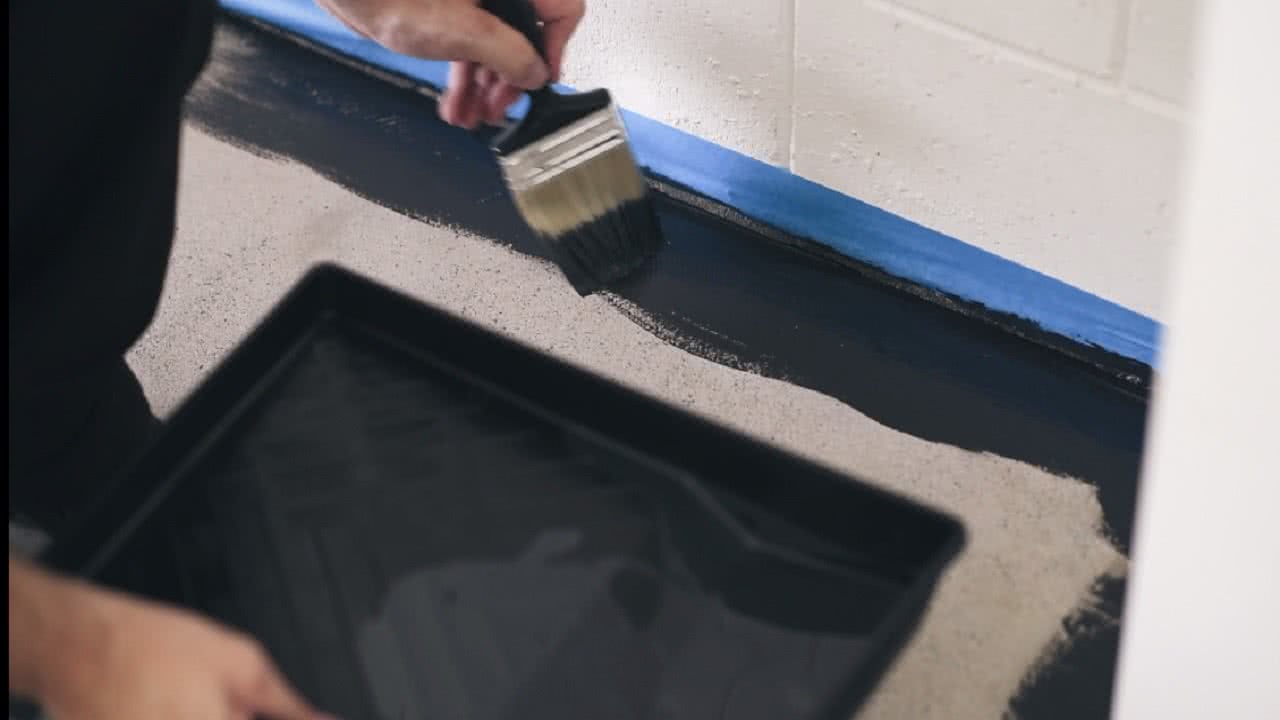
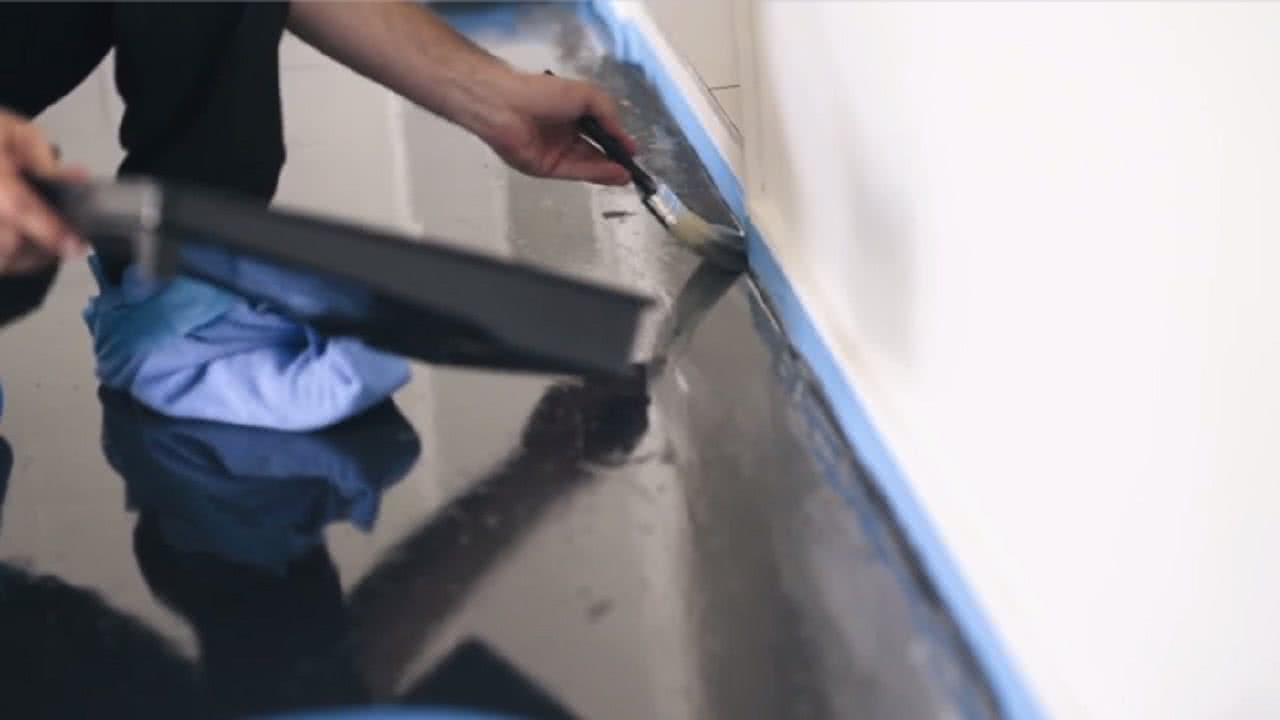
Cutting in the Primer
Now before pouring the primer onto the floor, pour a little bit of primer into a paint container.
Now use a 75-100mm paint brush and brush along the perimeter of your garage.
Start from the back wall and "cut" the primer in up to the wall or skirting board working your way back.
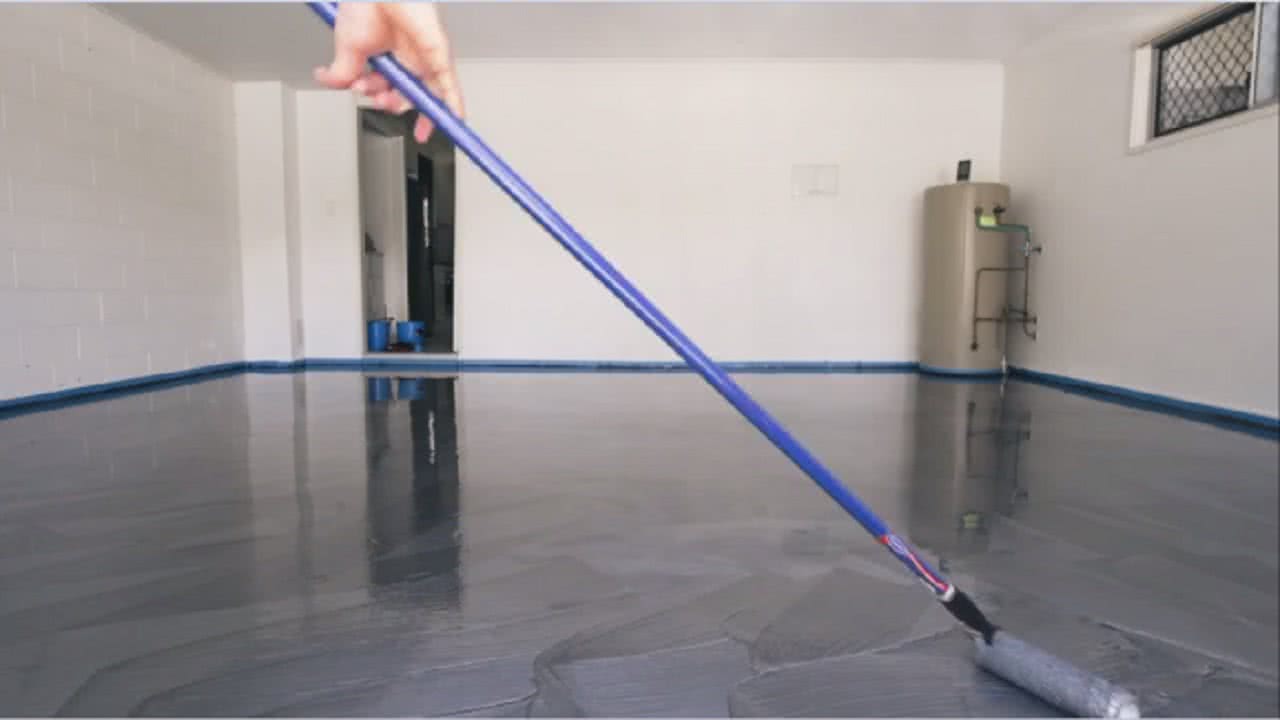
Pouring the Primer
Now you're ready to apply the remaining primer. The best way to do this to ensure best coverage is to pour a line approximately 2m long and 10cm wide along the floor.
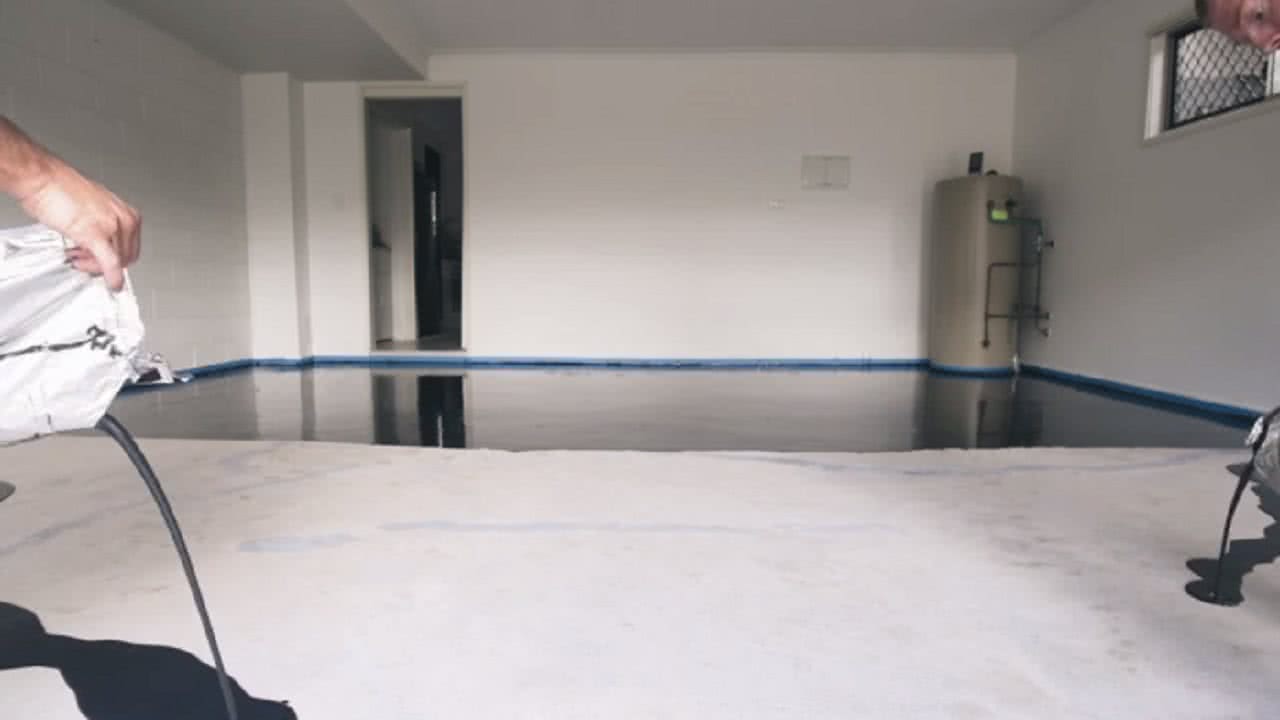
Spreading the Primer
Now use the supplied roller to spread the primer evenly.
Drying the Primer
Allow the primer to dry before proceeding on any further.
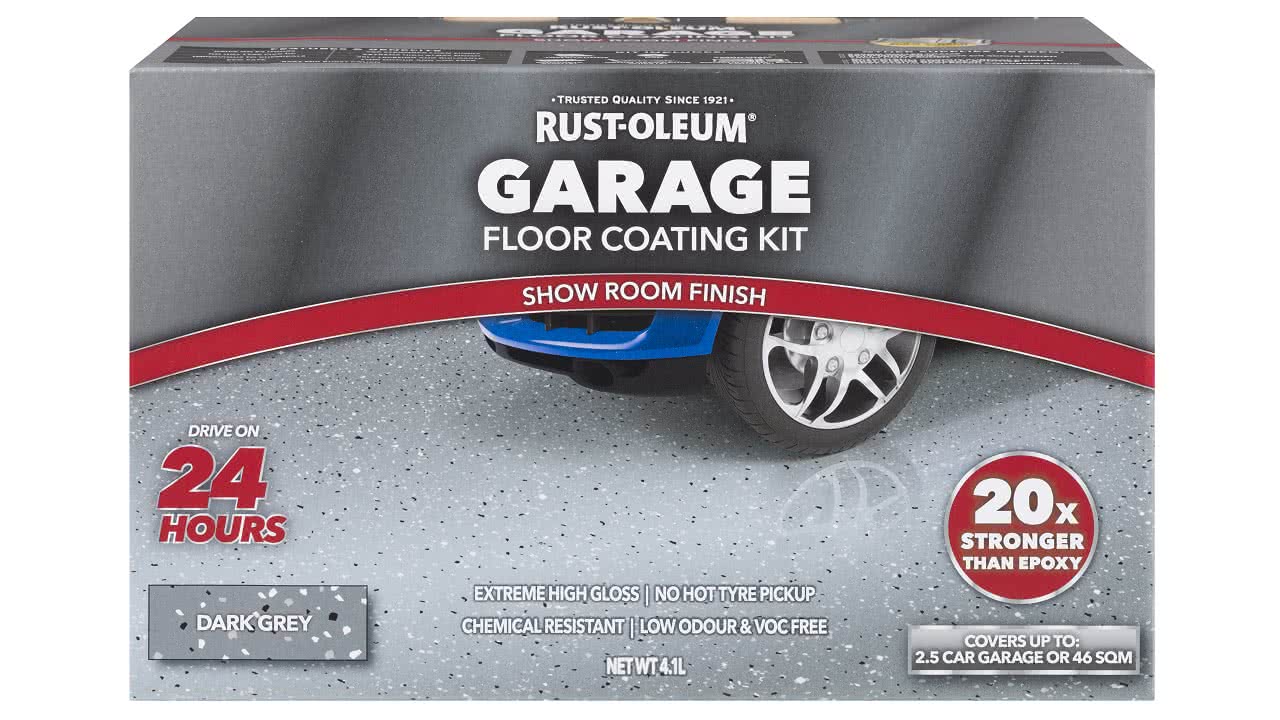
Applying the Paint - Standard/Dark Grey
Now you're ready to apply the paint.
If you have chosen the standard grey or dark grey coatings, these can be directly to the surface.
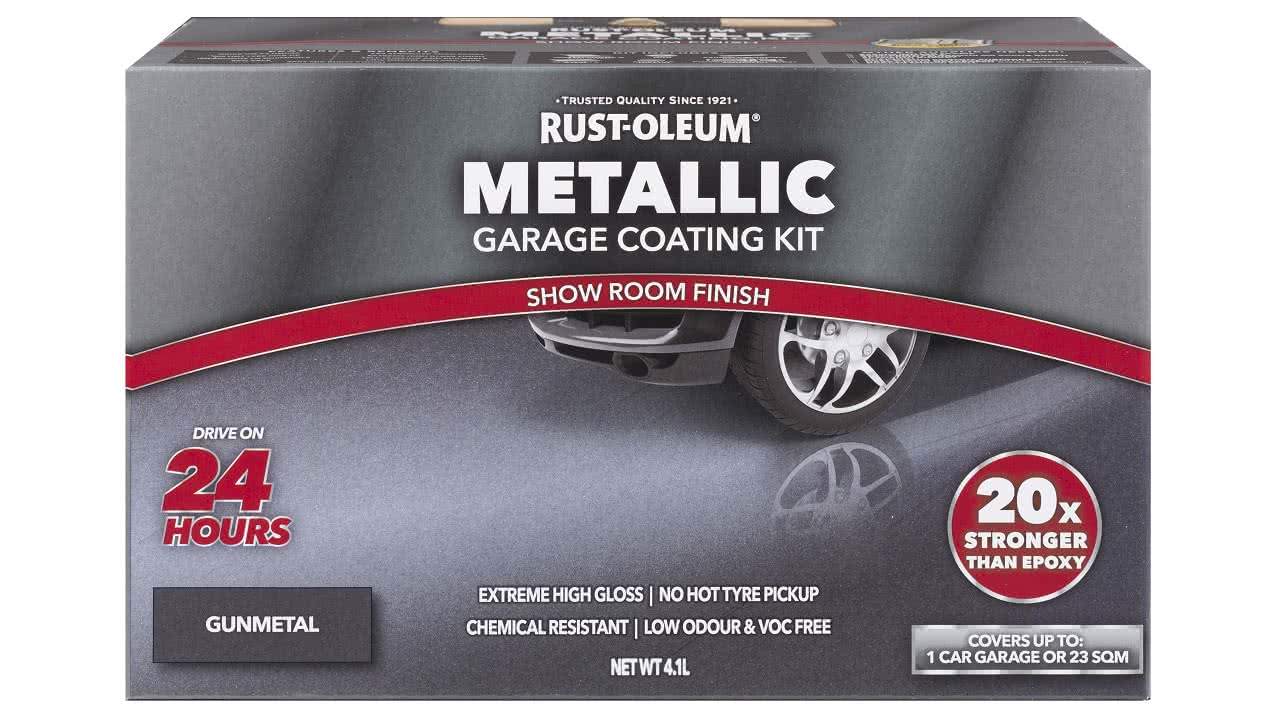
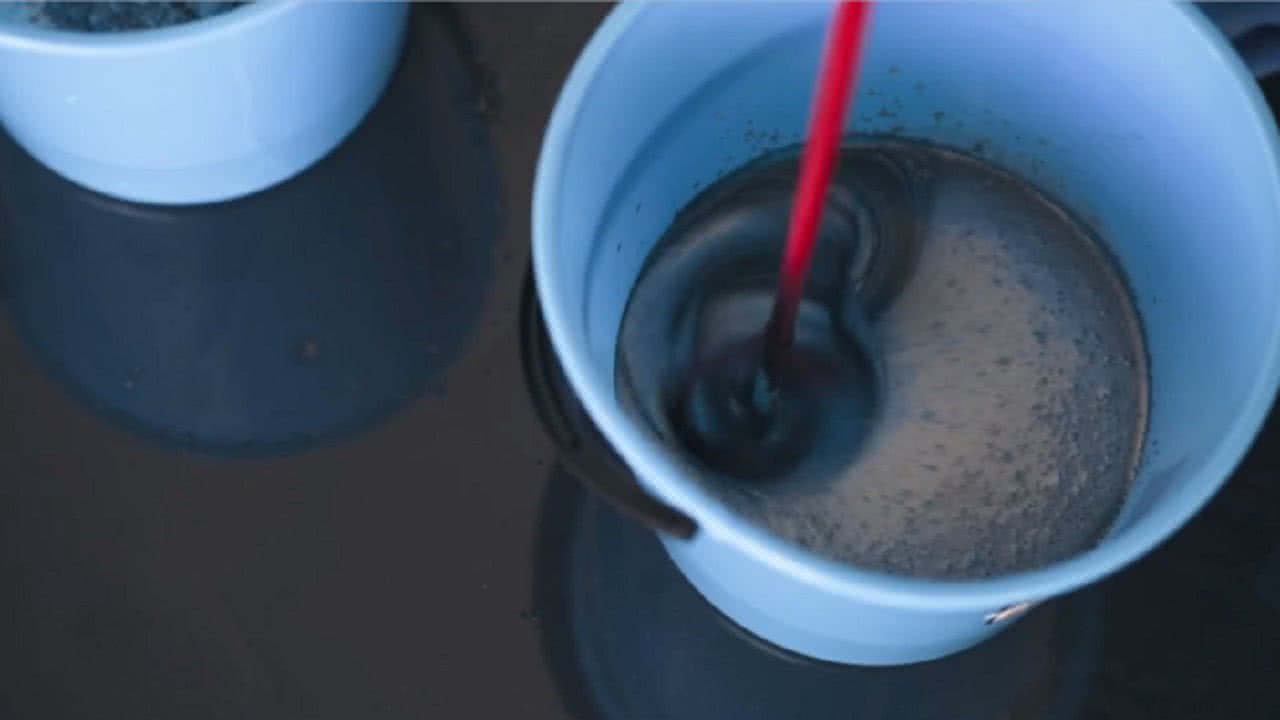
Applying the Paint - Metallics
For metallic coatings, the pouch must first be emptied into a bucket, and the metallic additive mixed in for a further 3 to 5 minutes.
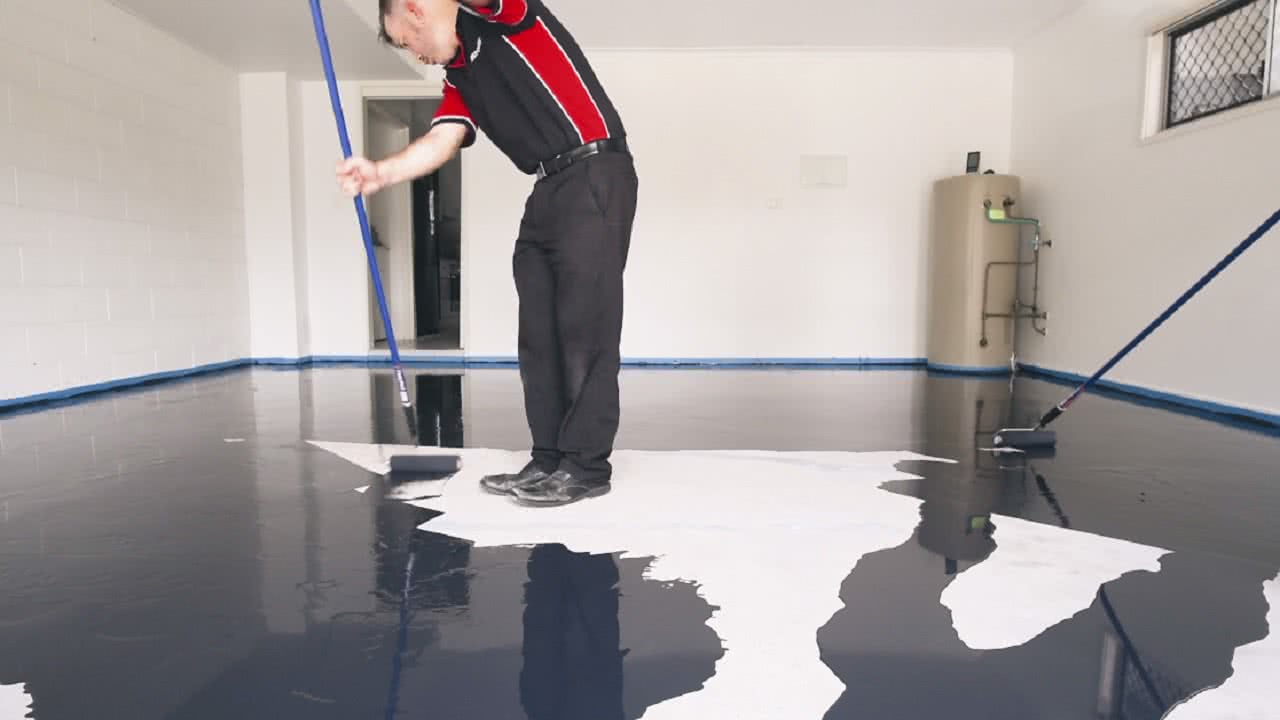
Applying the Paint
Application of the paint uses the same technique as the primer (cutting in from the walls and using the rollers to ensure even coverage.)
Curing the Floor
Once you have completely covered the floor, allow it to cure.
Your new showroom finish floor will be ready to walk on in just 8 hours and can be driven on in as little as 24 hours.

Applying Clear Coat
If you want to lock in that high gloss showroom shine, it's recommended that you apply clear coat over the surface.
This is done in the exact same method as the primer and floor paint, and left to dry.
Cleaning
You're new garage floor is now complete!
Cleaning of your new garage floor is really simple. Simply sweep any dirt and dust out as necessary and you can even mop with a regular household mop and floor cleaner to keep it looking new even after years of use!

Source: https://www.supercheapauto.com.au/blog/paint-panel/garage-floor-coating-kit-rust-oleum.html
Post a Comment for "Easy Off on Lower Reciever Then Grey Rustoleum"